2024/12/01
2023/11/28 (更新日: 2023/12/04)
投稿内容をモーダルウィンドウで表示する方法【WordPress・ページ遷移なし】

WordPressの投稿一覧などから、ページ遷移せずに内容をモーダルウィンドウで表示する方法を解説します。
結論から、jQueryプラグインの【Remodal】を使用します。
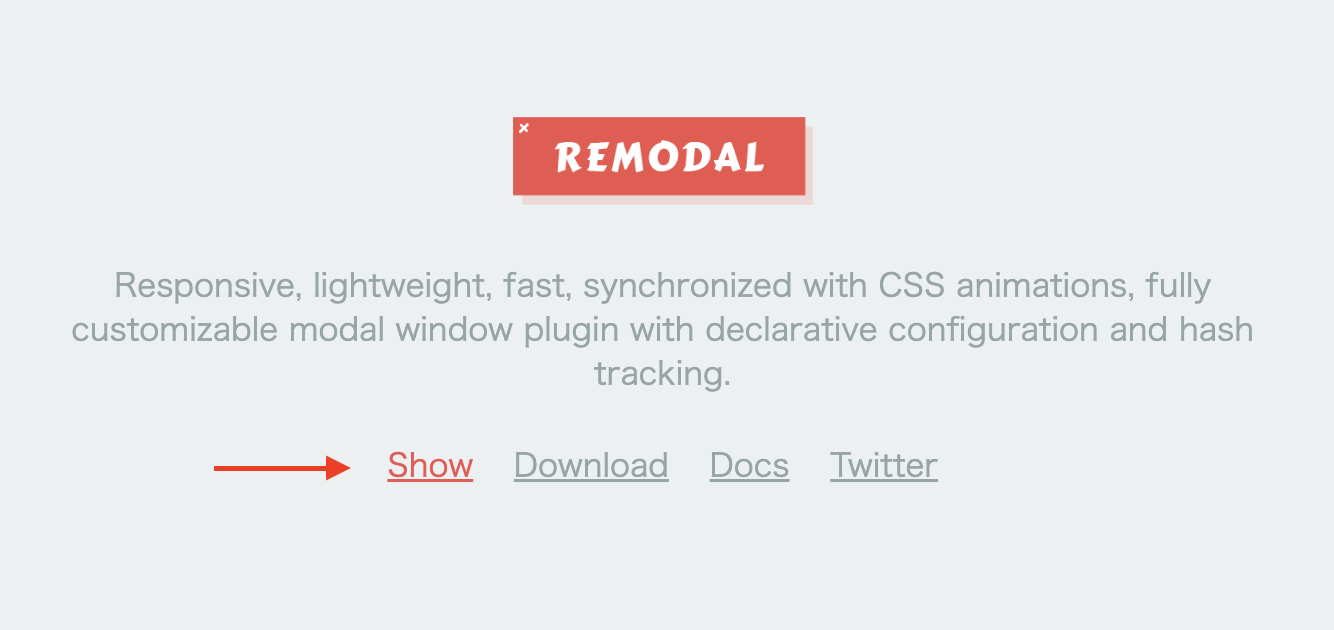
【サンプル】
リンク先の※showをクリックしてください。

WordPressの投稿一覧からモーダルを作るのは難しいです。投稿IDをモーダルセクションと結びつけなければいけないのですが、これが思った以上に大変でエラー対応やスタイリングも含め大量にコードを書かなければいけません。
Remodalを使えば投稿との連携も簡単、スタイリングも自由にできます。
通常のhtml形式のサイトでも使えますし、WordPressの投稿内容をモーダル表示したいならRemodal一択だと思います。
実装手順を解説していきます。
Remodalを一式ダウンロード
https://github.com/vodkabears/Remodal/tree/master/dist
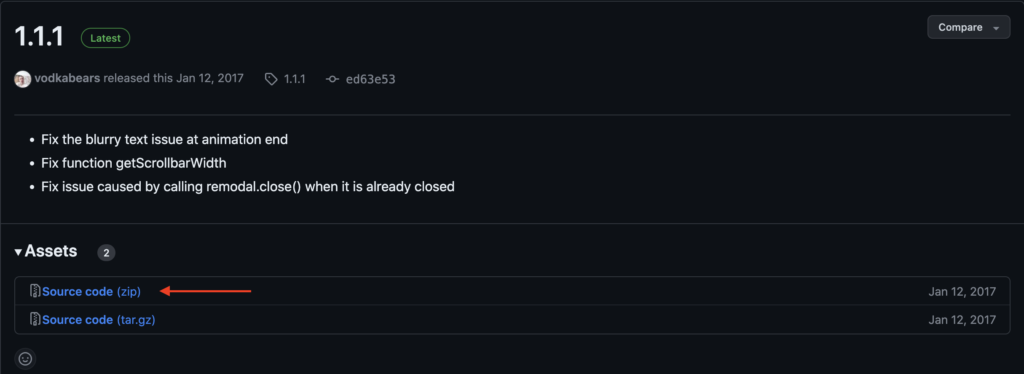
上記githubのURLからダウンロードに進み、zipファイルをクリック。
zip解凍後のファイル内の「dist」ファルダにある「remodal.min.js」「remodal.css」「remodal-default-theme.css」の3つのファイルをサイトに読み込んで行きます。

Remodalをサイトに読み込む
ダウンロードしたファイルを、cssは<head>内、jsを</body>閉め直前に読み込みます。
以下読み込みコードを参考にパスはサイト構成に合わせてください。
※読み込み順序が間違っていると正しく機能しません。
詳しくは→JavaScriptとjQueryの読み込み順
<head>
 <!-- Remodalのメインcss -->
 <link rel="stylesheet" href="<?php echo get_template_directory_uri(); ?>/css/remodal.css">
 <!-- Remodalのカスタムcss -->
 <link rel="stylesheet" href="<?php echo get_template_directory_uri(); ?>/css/remodal-default-theme.css">
 <!-- jQueryライブラリ -->
 <script src="https://code.jquery.com/jquery-3.7.1.min.js" integrity="sha256-/JqT3SQfawRcv/BIHPThkBvs0OEvtFFmqPF/lYI/Cxo=" crossorigin="anonymous"></script>
</head>
<body>
 <!-- Remodalのスクリプト -->
 <script src="<?php echo get_template_directory_uri(); ?>/js/remodal.min.js"></script>
</body>
投稿と連携
01投稿のaタグにIDを付与
クリックでモーダルを起動させたい箇所に<a href=”#<?php the_ID(); ?>”>のようにIDを付与します。
 <?php
   $args = [
    'post_type' => 'post', // 投稿に合わせた名前「post」はデフォルト
    'posts_per_page' => 3, // 表示させる数
   ];
   $my_query = new WP_Query($args); ?>
   <?php if ($my_query->have_posts()) : ?>

    <?php while ($my_query->have_posts()) : $my_query->the_post(); ?>
     <article class="">
      <a href="#<?php the_ID(); ?>"> // ここにIDを付与
       <p class=""><?php the_title(); ?></p>
      </a>
     </article>
    <?php endwhile; ?>
   <?php else : ?>
   <?php endif;
wp_reset_postdata(); ?>02モーダルウィンドウを作成・ID連携
モーダルウィンドウ部分を作成します。上の手順01でIDを付与したページと同じページ内ならどこに書いても連携できます。モーダルの親要素にclass=”remodal”を付けるのも忘れずに。
ウィンドウ内に何を表示するかは自由です。
  <?php
  $args = [
    'post_type' => 'post',
  ];
  $my_query = new WP_Query($args); ?>
  <?php if ($my_query->have_posts()) : ?>
    <?php while ($my_query->have_posts()) : $my_query->the_post(); ?>
    <!-- ここでIDが連携される -->
      <article class="remodal" data-remodal-id="<?php the_ID(); ?>">
        <!-- モーダル閉じるボタン -->
     <button data-remodal-action="close" class="remodal-close"></button>
        <!-- モーダルに表示したいものを埋め込む -->
        <p class=""><?php the_title(); ?></p>
        <!--キャンセルボタン-->
        <button data-remodal-action="cancel" class="remodal-cancel">キャンセル</button>
        <!--確認ボタン-->
        <button data-remodal-action="confirm" class="remodal-confirm">確認</button>
      </article>
    <?php endwhile; ?>
  <?php else : ?>
  <?php endif;
  wp_reset_postdata(); ?>
スタイリング
「remodal-default-theme.css」内を書き換えることでモーダルウィンドウの見た目を変えることができます。
「remodal.css」の中には表示位置に関する設定がまとめられています。
表示オプション
Remodalにはいくつかオプションが設定されています。remodalクラスが付与されているタグにオプション値を入れることで調整できます。
【実装例】
modifierオプションでu-backgroundクラスを付与し、cssでu-backgroundクラスに背景色を指定することでモーダルの背景色を変えています。
<article class="remodal" data-remodal-id="<?php the_ID(); ?>" data-remodal-options="hashTracking:false,modifier:u-background">.u-background{
background:red;
}【オプション一覧】
| オプション名 | デフォルト値 | 効果 |
|---|---|---|
| hashTracking | true | URL末尾に#〇〇を付けたくない場合はfalseを指定する |
| closeOnConfirm | true | 「data-remodal-action=”confirm”」で作った確認ボタンをクリックしたときの動作。falseで閉じなくなる |
| closeOnCancel | true | 「data-remodal-action=”cancel”」で作ったキャンセルボタンをクリックしたときの動作。falseで閉じなくなる |
| closeOnEscape | true | escキーを押したときの動作。falseで閉じなくなる |
| closeOnOutsideClick | true | モーダル外の背景をクリックしたときの動作。falseで閉じなくなる |
| modifier | なし | モーダルの背景に生成される要素に任意のクラス名を追加 |
